
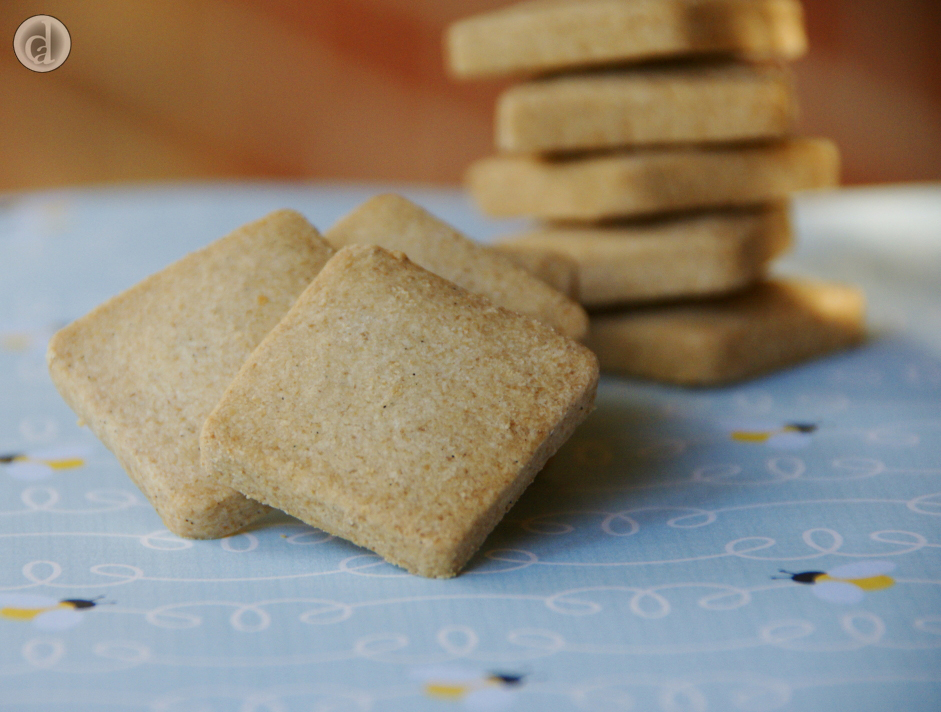
Dairy Free Vanilla Shortbread
Prior to my baking classes I ask participants what their food intolerances are in order to tailor the class for the group. I also like to make a little something extra for them to have with their tea or coffee or hot chocolate. These little shortbreads were designed for one of my class participants who was on a dairy free diet.
This recipe was designed specifically to be made with Bakers' Magic gluten free flour. The finished baked product will not be the same if you use another gluten free flour and you will need to adjust the recipe, particularly if the flour you're using contains rice flour.
Ingredients
225 g Bakers' Magic Gluten free flour
90 g Nuttelex or other dairy free margarine
60 g Cocoa butter
60 g Icing sugar
75 g Almond meal
~1/8 tsp Salt
Vanilla bean paste - to taste
10 g Hot water
Nuttelex & cocoa butter- I use this combination to create a fat that has nearly the same consistency as butter, this is to ensure that the resulting shortbread are short but don't crumble.
Vanilla bean paste - I used a lot of paste, nearly a big tablespoon. If in doubt put 1 tsp in, taste a little of the dough & then if needed add more.
Method
In a bowl mix together Bakers' Magic Gluten free flour, icing sugar, almond meal & salt.
Melt the Nuttelex & cocoa butter.
Add the vanilla bean paste & hot water to the nuttelex/cocoa butter & pour this mix over the dry ingredients.
Mix until a uniform dough is formed. Transfer to a plastic bag & refrigerate for ~30 mins.
Rolling out the dough
Bring the dough out of the fridge & allow it to soften (a little).
Put the dough on a sheet of baking paper or pastry mat. Bring it together with your hands & knead it until it is flexible.
Place the dough between two sheets of baking paper. To ensure the shortbread is even in thickness follow this tip. Find two placements (dinner setting) place them on either side of the dough (my placemats are 4 mm high). For the shortbread pictured above I used stainless steel spacers (5 mm) instead of placemats. The placemats can be on top of or underneath the pieces of baking paper. I find it easier to work with this dough when it is between two sheets of baking paper. When rolling out the dough ensure the rolling pin is wide enough to span the dough and part of the two top placemats. My rolling pin is large – 61 cm from handle to handle. Initially when rolling the pin may not necessarily rest on the placemats, however, when the dough is the same thickness as the placemats it will. At this stage the dough should be all the same thickness.
Cutting & Cooking
Turn the oven on to 135 C.
Line 2 trays with baking paper.
Gently lift off the top piece of baking paper, put it back down on the dough. Holding on to both sheets of baking paper on both sides of the dough gently flip the dough over. Lift off the top piece of baking paper - do not discard.
Using a cutter of your choice cut out the shortbread and place them on a baking tray. Use a flat knife to help transfer the cut dough to the tray. When you have cut out as many shapes as possible bring the dough together and roll it out again between the two sheets of baking paper. This dough likes to be kneaded. Continue cutting out shapes in the newly rolled dough. Repeat until you can't cut out any more shapes.
The length of time required to bake the shortbread will depend on the size of the cutter you have used, the thickness of the dough & your oven. I baked these for 30 mins turning the trays halfway through baking.
Simply enjoy!