Garofano Baci

This recipe was designed specifically to be made with Bakers' Magic gluten free flour. The finished baked product will not be the same if you use another gluten free flour and you will need to adjust the recipe, particularly if the flour you're using contains rice flour.
Ingredients
1/2 tsp Baking powder
100 g Bakers' Magic Gluten free flour
80 g Butter
50 g Maize starch
95 g Castor sugar
33 g Raspberries (frozen)
Coating
You will need ~8 g white chocolate per biscuit
30 biscuits ~240 g white chocolate*
Disposable gloves (food grade)
The above estimation will depend on the size of the biscuit & how thickly you coat it (& of course if you have helpers - testing for quality control)
* I use compound chocolate for coating the biscuits. The chocolate may not taste as good as couverture however it is easier to handle when coating the biscuits & it is less likely to crack when the truffle is put on top. The cracking of the chocolate means that moisture will get into the biscuit & the biscuit will no longer be crunchy. One of the things I love about these biscuits is the crunch of the biscuit & the smooth velvety chocolatey goodness in the middle.

Garofano Baci Truffle
400 g White chocolate (pieces or chopped)
60 g Cream
60 g Raspberry puree
60 g Vodka

Method
Preheat oven to 150o C.
Line two baking trays with baking paper.
Mixing
Thermomix
Place all ingredients into the TM bowl.
Mix for 1.5 mins at speed 4.
Ensure all ingredients are fully incorporated.
Stand Mixer
Mix together baking powder, Bakers' Magic Gluten free flour and the maize starch.
Cream butter & sugar until light & fluffy.
Add raspberries & mix until the creamed mixture is uniformly pink.
Add the flour mix.
Mix until the flour is completely incorporated.

Rolling out the dough
Put the dough or empty the TM bowl on a sheet of baking paper. Bring it together with your hands. Knead the dough until it has a uniform consistency. The dough should be ready to roll out.
Place dough between two sheets of baking paper. To ensure the bases are an even thickness follow this tip. Find 2 placemats (dinner setting) place one on either side of the dough (my placemats are ~4 mm high). The placemats can be on top of or underneath the pieces of baking paper. I find it easier to work with the dough when it is between two sheets of baking paper. When rolling out the dough ensure the rolling pin is wide enough to span the dough and part of the two placemats. My rolling pin is large – 61 cm from handle to handle. If your rolling pin is smaller it may be easy to half the dough. Initially when rolling the pin may not necessarily rest on the placemats, however, when the dough is the same thickness as the placemats it will. At this stage the dough should be all the same thickness. Put the dough (still in between the baking paper) onto a flat tray and put it into the fridge until the dough is firm.
Cutting & Cooking
Preheat oven to 150o C.
Line two baking trays with baking paper.
Bring out the cold dough. Gently lift off the top piece of baking paper, put it back down on the dough. Holding on to both sheets of baking paper on both sides of the dough gently flip the dough over. Lift off the top piece of baking paper - do not discard.
These biscuits can be used for Garofano Baci so I tend to use a round cutter (~48 mm diameter). Cut the dough and place the pieces on a baking tray. When you have cut out as many shapes as possible bring the dough together and roll it out again between the two sheets of baking paper. Continue cutting out shapes in the newly rolled dough. If the dough is cold enough the shapes will still be easy to pick up & transfer to the baking tray. If not put the dough back into the fridge for ~ 5 mins. Repeat until you can't cut out any more shapes.
The length of time required to bake the Berry Baci Base will depend on the size of the cutter you have used & your oven. The discs were ~ 10 g each, there is sufficient dough to make ~38 of these. I baked these for 17 mins & turned the trays halfway through baking.
Coating
I find it easier to coat these biscuits when they are warm. However, I usually make the bases, store them in an airtight container & coat them when I need them.
Put as many biscuits as you want to coat on a baking tray & put it in the oven.
Turn the oven on to ~50 C for approximately 10 mins. The biscuits should be warm but it will depend on the number you are coating & how they are placed on the tray.
Melt the milk chocolate.
This next bit is messy but I find you get a thinner chocolate coat on the biscuit.
Line a baking tray(s) with non-stick paper. The number of trays needed will depend on how many biscuits you are coating.
Take the tray with the biscuits out of the oven.
Put on a pair of disposable gloves.
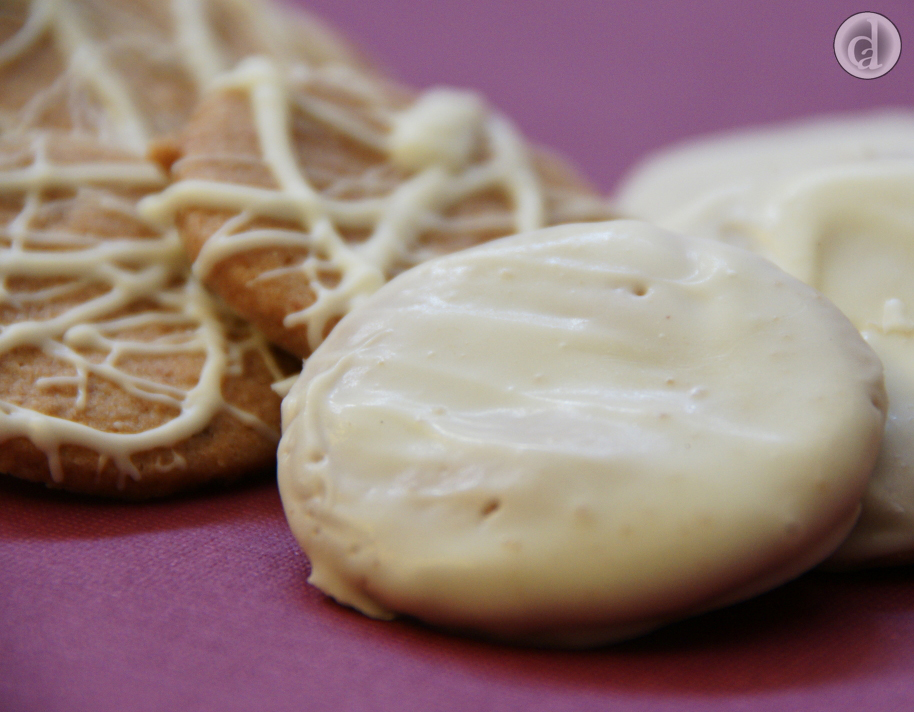
Take ~6 - 8 of the biscuits & put them in the molten chocolate. You can use a fork to gently push the biscuits into the chocolate, ensure they are completely covered. Now for the messy part. Using your hands (with gloves on) pick up one of the biscuits & gently smooth the chocolate on both sides. If there are any holes in the base fill them in with chocolate. Transfer the biscuit to the lined baking tray. Repeat for the biscuits left in the chocolate. If the chocolate is solidifying, melt it again. Take some more biscuits from the tray and repeat the coating process until there are no more remaining.
The truffle part
Defrost the raspberries & puree them with a stab blender. For a really smooth truffle put the puree through a sieve to get rid of the seeds.
Put chocolate in a mixing bowl & warm it slightly. At this stage we don't want it melted.
Mix raspberry puree & cream together. Simmer the mixture for ~ 4 mins.
Pour raspberry & cream mix over chocolate & let this mix melt the chocolate.
Gently stir the mixture until there are no lumps in it. If some of the chocolate is still solid gently warm the mixture until it is smooth.
Gently stir in the vodka.
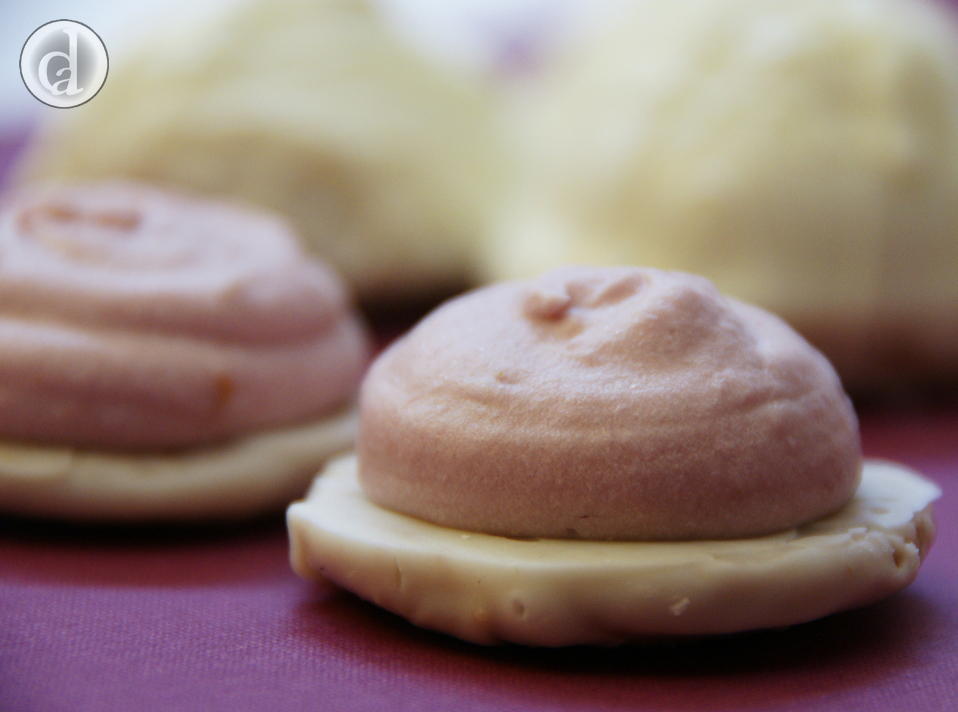
Let the mixture cool slightly. At this stage the mixture will be a darker colour than that pictured above. Mix the truffle mix with a stab blender or hand held electric beaters. As the mixture is beaten it will change in colour becoming paler & will also thicken. You don't want to overbeat the mix (it can become grainy) so you have to taste test. Put a little of the mix on a spoon & have a taste - is it smooth. If it is smooth, could it be piped. I usually pipe it when it has a consistency of thick cream (45% fat).
Transfer mixture to a piping bag. I use a plain nozzle size 11.
Line a tray with grease proof paper (I usually don't throw away the baking paper that I used when I made the biscuits). Place the choc coated biscuits on the tray with their bases facing upwards. Leave a little room between the biscuits.
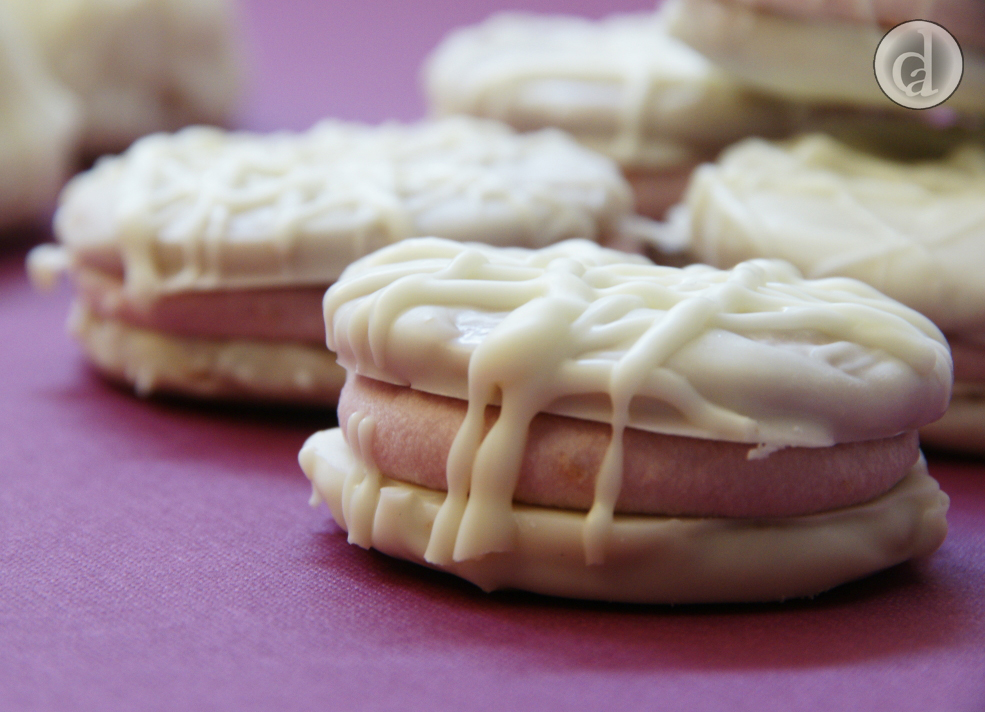
Pipe a blob of truffle in the middle of the upturned coated biscuit. The amount piped will depend on whether you want to sandwich the biscuits (less) or have them as Garofano Baci Truffle Tops (more). If sandwiching them pipe a blob that covers 2/3s of the biscuit. Place another biscuit on top and gently push down until the truffle is at the edge of the biscuit. If making a Truffle Top pipe a blob that covers the base of the biscuit.
If you have any truffle mix left it can be stored in the freezer. After putting the truffle mix into a container lay a piece of plastic clingfilm over the top of the chocolate mix; ensure it touches the chocolate & that there are no air bubbles. Doing this will hopefully reduce water (from the freezer) getting in the mix.
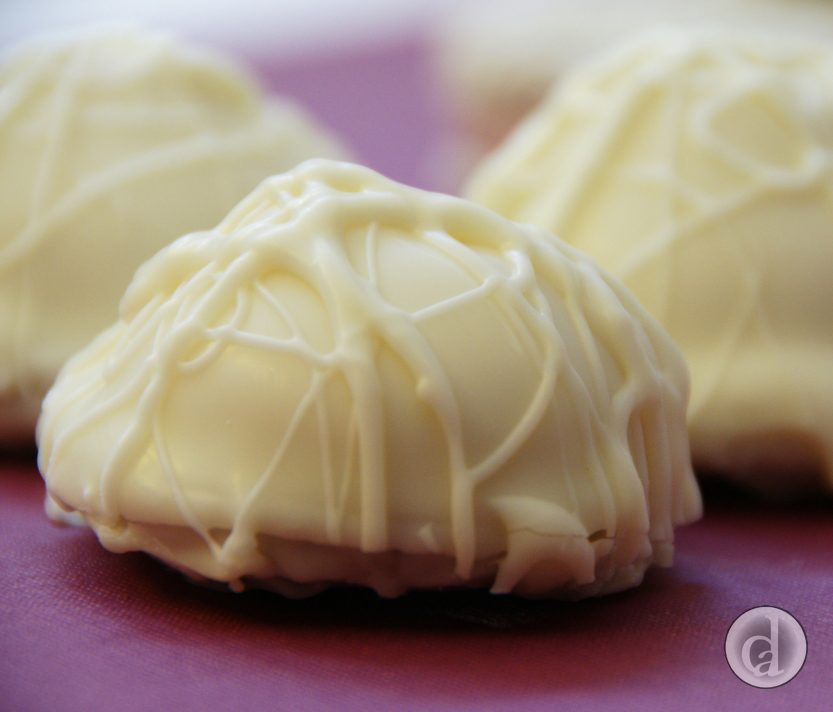
If making Garofano Baci Truffle Tops put them in the fridge to cool them slightly. Melt some more chocolate. To coat them hold onto the base of the biscuit & place it upside down in molten chocolate (briefly - you don't want the truffle to start melting). Transfer to a tray & let the chocolate set.
Finishing
Move the biscuits closer together. Melt some white chocolate. Using a fork, dip the ends into the molten chocolate & flick the chocolate on to the top of the biscuits. Once the chocolate has set store them in an airtight container & hide them.
